Tag : observatory

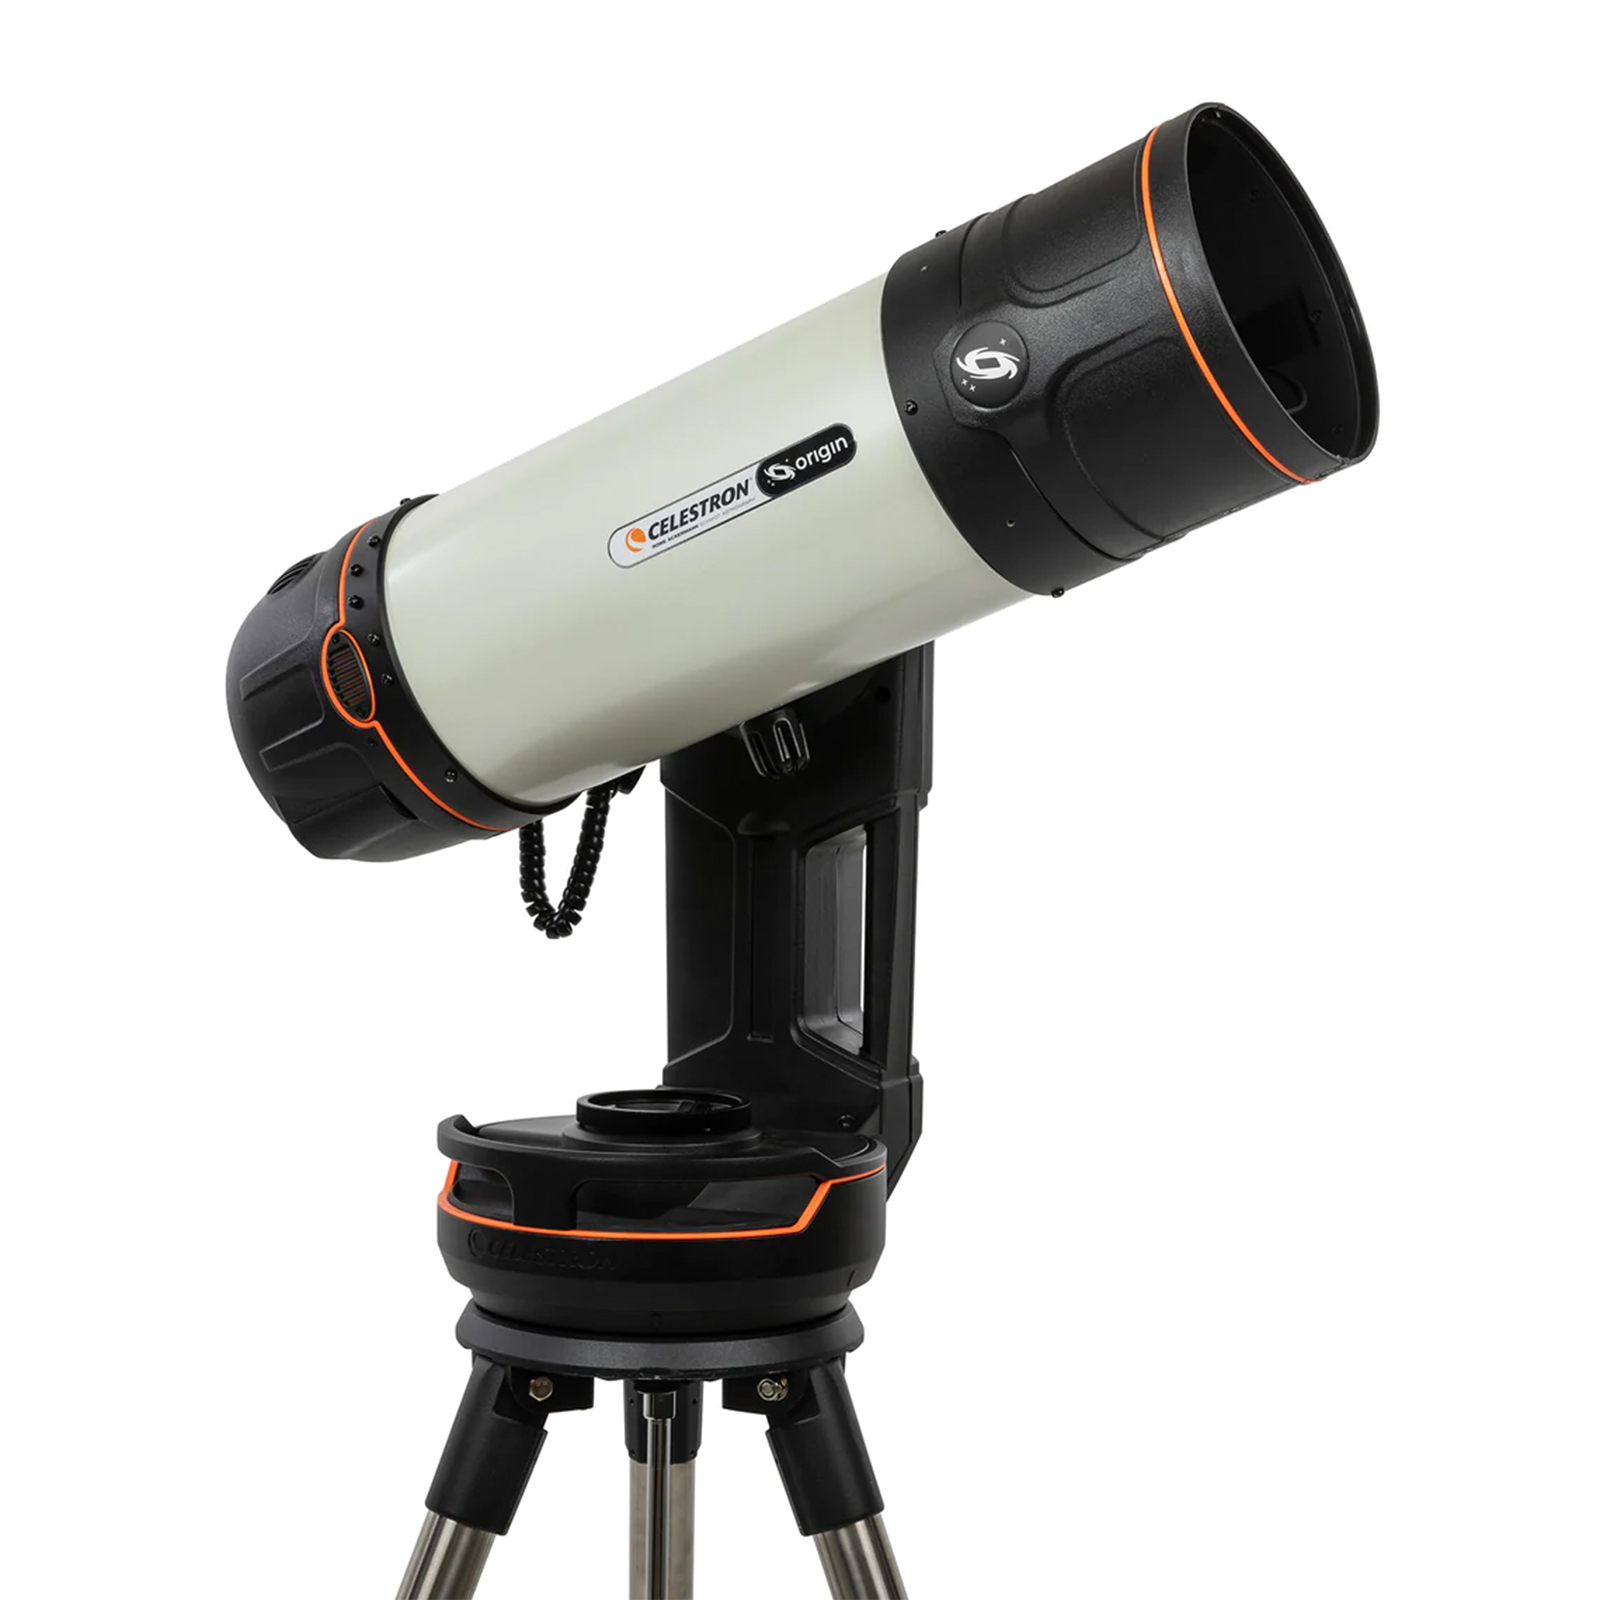
Celestron Royal Observatory Starsense Explorer Dx 100 App-enabled Refractor Telescope by Celestron

Celestron Royal Observatory StarSense Explorer DX 100 App-Enabled Refractor TelescopeCelestron Royal Observatory Starsense Explorer Dx 100 App-enabled Refractor Telescope
Celestron has reinvented the manual telescope with StarSense Explorer?the first telescope that uses your smartphone to analyze the night sky and calculate its position in real-time. This special-edition Royal Observatory StarSense Explorer is ideal for beginners thanks to the app?s user-friendly interface and detailed tutorials. It?s like having your own personal tour guide of the night sky.

Price: £279.99

Buy Now from Warehouse Express

Control Your Observatory PC Remotely

Since the weather has been very cold lately I thought about putting in a warm type of partition in the observatory to keep me warm whilst imaging, but I knew there was a way to remotely control your PC, as a lot of people do it, now I know how and it did not cost me a penny.

There are services on the web who will charge you a fee so you can access your PC from anywhere – such as GoToMyPC etc. But there are other ways as well.

The first thing I looked at was using the program “LogMeIn Free” which is a free program you install on both machines, there is also the free VNC servers, such as TightVNC or UltraVNC.

But I found that Microsoft Windows has ‘Remote Desktop Connection’ and it’s really easy to set up.

The only downside is that ‘Remote Desktop Connection’ on the host computer (the one you are trying to connect to) must be a XP Professional, Vista Business, Vista Ultimate, Windows 7 Professional or Windows 7 Ultimate edition.

You can use any Windows version on the client machine (the remote one that you are using). I even connect to my observatory PC via my Samsung Netbook which runs Windows 7 Starter edition!

If you have the correct version of Windows on both the remote PC and the local control PC or laptop. All you need to do is (this is what I did on XP Pro):

1. Create a user account on the remote PC and give it a password
2. On the remote PC right click on My Computer on the desktop and go to ‘Properties’ and then choose the ‘Remote’ tab. Then make sure the ‘Allow users to remotely connect to this PC’ is checked.
3. Now go to your other PC and go to ‘Programs -> Accessories -> Remote Desktop Connection’, now enter your IP address in the computer field and enter the username you set up on your remote PC.
4. If you now click ‘Connect’ and everything is setup properly the remote PC desktop will appear on your screen.

I know there is nothing like being next to the telescope to sort things out, but in the future if it’s doing a long imaging run, I may leave the observatory and just check up on the imaging run via my laptop in the more comfortable and warmer house.

Bolting Down The Astronomy Pier

As you probably know I purchased an Astro Engineering Pro Pier and drilled the holes for the pier bolts at the time I laid the slabs for the base of the shed.

I had thought I was going to secure the bolts at the same time of laying the slabs, but I must admit got a bit scarred about doing it, and then kept putting it off. I then thought about doing it before the shed was erected, but then ended up doing it once the shed was completed inside and out, so in fact I made this the last of my jobs.

I used a bolt kit from Pulsar Optical which was around £35, it includes the four pier bolts, with washers, nuts and dome nuts. It also comes with a tube of gunk which has to be used with a mastik type gun.

I had previously hired an STS drill to drill out the holes, so I began by cleaning out the holes. To do this I attached a small tube to the end of an old vacuum cleaner to get to the bottom of the holes I had drilled.

Next I unscrewed the end of the gunk and found a metal clip around the inner plastic sleeve. I cut this metal clip off and then re-attached the nozzle and place the tube into the dispensing gun.

Now for me, on the first attempt the gunk did not set at all. I was deemed to have been very unlucky as inside the tube there are two colours which must mix together before they are squirted into the pier bolt holes.

For me, this not happen on my first attempt, it looked like one of the chemicals was restricted from leaving the tube. So I thought everything was ok ,so left it overnight and came back in the next day at lunchtime to find the bolts had not set in the groud at all. So off I went back to Pulsar Optical who were straight onto the phone to the manufacturers of the gunk and the MD of the company even phoned them back. The company offered to send a new tube of gunk and some metal cleaning brushes so that I could get the unset gunk out of the pier bolt holes. James at Pulsar Optical also provided me with another set of clean bolts, which was really good of them.

The next day I went back to pick up the cleaning brushes and the new tube of gunk. That evening at about 7.30pm I began again. Once I had cleaned out the holes I cut the metal end of the gunk off and put it in the gun holder. I then made sure this time that I could see the two chemicals mix inside the nozzle. Now it did take at least two full trigger squeezes in order to get a good mix of the chemicals.

I squirted the gunk into the holes one at a time, starting with the nozzle at the base of the holes and filled them to about 50% full. I then took my electric screwdriver and added an attachment so that I could screw the bolts into the gunk in the holes which is now very dense. This allows the gunk to get into the grooves of the bolts.

I repeated this for each of the four bolts in turn. You will find that a lot of gunk will spill over the holes, you just need to have a rag ready to clean this up.

I then lifted the pier over the bolts to make sure the bolts were in the right location. I then left the bolts overnight, and in the morning returned to find the bolts were completely rock solid in the ground.

I then cleaned the bolts up as some had some glue around them which would stop the nuts from been tightened. I just took a stanley knife and chipped away at the glue to clean them. I also removed the pier again, so that I could make sure I cleaned the bolts all the way to the floor as I did not want the glue on the bolts to stop the nuts being tightened as much as possible.

I then placed the pier back on the bolts and tightened them up. Job Done!

There are many different ways of completing this job, as I was advised not to lift the pier on and off the bolts, as the weight of the pier could dent the grooves on the bolts and render them useless, but for me this was not a problem. You could always make a wooden template and use that as a guide. I was worried that the bolts would not set in the correct position, as there is really no room for error, so placing the pier on top of the bolts seemed the most reliable method to me.

Observatory Finishing Touches

Once the roof had been put on and the opening doors re-attached, the work on the observatory was far from over.

To begin with, the next day rain was forecast, and that was the first test of the roof. I sat in the shed whilst the rain lashed down on the roof, and after a while I found I had four leaks.

The leaks came from where we had screwed in the hinges but then moved them, so the next day I was on the roof filling the holes with mastic.

I also found that I needed a lot more felt pins on the roof so hammered a load more in.

I also went to Wilkinsons and purchased a few more ironmonger bits, including some black cast handles which I have attached to the outside of the roof. I also purchased some cheap rope from the pound shop to allow me to open and close the roof.

I ended up buying some screw-in loops to tie the rope to on the inside and then push open the roof from the inside whilst keeping hold of the rope to lower the roof down onto the roof wooden stoppers which I also added to ensure the roof came down horizontally.

I then added the same rope on the outside of the roof and tide it to the black handles on the top of roof, then to close the roof, I go outside with a small lightweight aluminium ladder and push the roof closed, whilst holding onto the rope and lowering the roof back down.

I used cabin hooks and black tower bolts in order to keep the roof down. The cabin hooks attach the roof to the shed, whilst the tower bolts bolt the two roof pieces together.

I also purchased some cheap black carpet from Carpetright and put that down on top of some newspaper. I kept the carpet down by using a standard office staple gun and stapling it into the wood.

I purchased a cheap computer desk from Argos, and added a Belkin UPS so to keep everything on for a while in case the power goes off.

I have also added some shelves, very useful for keeping things neat and tidy, and I managed to purchase a wood drill bit the same size of a 1.25″ eyepiece and drill 6 holes in the shelf in order to hold my eyepieces.

I also purchased some cheap 3m USB 2.0 extension cables from eBay so that I could run these cables under the carpet from the PC to the telescope. This means that I have usb sockets ready to use around the wedge, useful for setting up webcams, DSLR and CCD imagers, plus they were only about £1.60 each.

Completing the Observatory Roof

After painting the inside of the shed all black, all the jobs had been completed except for the setting the bolts in the ground (which is another post) but first I waited a week or so for my dad to come over and help me work on the roof.

We began by taking the roof off again, and first removing the felt. I then found out I had to undo a lot of my previous work and remove some plywood sheets and polystyrene sheets in order to get to the screws that were holding the roof on.
Opening cut out of roof with jigsaw Next we decided on how large to make the overall hole in the roof. As the roof was tongue and groove wood, it was easier to let the jigsaw cut along where the wood joined itself.

Cutting out the roof was stressful, had I cut out enough? As this is a one time only cut.

We then removed the full piece of roof, but did not cut the roof in half until later on.
Roof with inner wood support I had purchased two lengths of 4 inch by 3 inch planed wood to go inside the open roof, so creating a lip and so also giving me about an extra 5cm in roof height.

As the main beams of the roof ran in one direction, the 4×3 inch wood could be screwed into that, but on the other direction where there was nothing to attach to,  I had to purchase a length of 2×2 treated wood to create some new beams, this also strengthened the roof some more.

Next came adding the felt back onto the roof in three strips and adding some beading wood to the outside to give the felt a tight fit, we also had to add extra wood to give the hinges something to sit on.
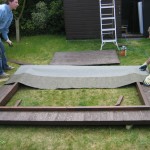
Laying on first section of felt on outer roofThe hinges were from my local ironmonger in Streatham, Cambs. I actually first went for some small ones at 450mm long, costing only £8 for 2 pairs, but as soon as I looked at them overnight I knew they were too small, so I returned them the next day and upgraded them to the 600mm hinges which were a lot more money at £30 for 2 pairs, but they were definitely the correct ones.

We then cut the main roof into half, but not quite in half, because as we had now created an inner roof we did not need to full width of the roof, so took off one section of wood, which left one rof panel slightly longer than the other.
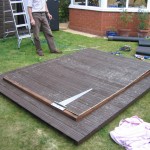
Roof Demo a hinge in place for measuring We adjusted the jigsaw blade to cut the roof in half at 45 degrees so I had a slanted section which had to open first (the telescope side of the roof).

At this point we put the roof felt onto the roof panels, and then put on the hinges, but later we found out that the roof felt was being pulled and tearing the felt. So we had to actually cut around the hinge (gate post) end to allow the roof to open up.

We also left an overhang of felt on the section roof which comes down last to keep the rain out of the roof join. I also had to put a large line of felt nails along this line to keep it in place, especially when the roof is open and the felt is upside down defying the laws of gravity.
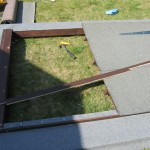
First outer door on roofWe then decided to put the roof back on, but not before taking off the roof panels, as now the complete roof was very very with all this extra wood we had added. So we put the roof outer on first, and then re-attached the roof panels afterwards.

To get around the problem of having a gap in the felt where the hinges are, I just put a loose line of felt over the top of the join, this was really going to be a makeshift thing just to keep out the next days forecast rain, but it has worked so well, I have left it in place.

The next day we did have a lot of rain and I stayed in the shed to watch for drips, and I had 4 leaks. They all came about because we moved the hinges once and left open holes. So I went onto the roof with some mastic in a gun and just filled the holes, and I have not had any leaks since.
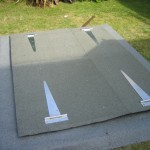
Completed Roof with Hinges and Felt in place So now the roof was finished, but there was still lots more things to do, such as securing the two parts of the roof together, which I did with two black tower bolts, and fixing the opening roof panels to the main parts of the roof, which I did with brass cabin hooks.

I also found that the wide part of the hinge attachment had two screw holes that did not line up with the beam underneath, so I could not screw them to anything, so I purchased some small bolts and bolted them through the roof.

So now the roof was on, but I needed to work out how to open the roof. I have ended up purchasing some cheap plastic rope and two black metal handles which I put on each part of the roof section to tie the rope to.

I also purchased a small light 4 step ladder from Wilkinsons for £20 which allows me to open the roof from inside the shed and at the same time hold onto the rope which I also have on the inside of the shed and lower the roof down. Not forgetting that I had also added some roof stoppers on wood to the outside of the shed to hold up the roof panels when open.

To close the outside roof I stand up the ladder and push the roof closed and again lower it down with the outside rope.

There was still lots to do, such as setting the pier bolts and doing some more plywood work and painting as well as moving in.
Painting the Observatory

Once I had installed the Plywood panels, I needed to paint the walls. I was worried to begin with whether I required a grey undercoat or if I could just paint on a black one-coat paint, or should I go for the blackboard paint which is non-reflective.

In the end I purchased two tins of black paint from Wilkinsons which were about £6 each, and they were for wood and metal, (quite handy the paint went on metal as I also painted over the screws in the walls as well).

The paint hardly soaked in at all, and one coat was enough. The paint was very good and quite cheap, plus it was water based so brushes wash out easily as well.

Adding Plywood Boards to Observatory Shed

Once I had cut up the polystyrene sheets for insulation and slotted them into the recesses of the shed walls, I had ordered 7 sheets of 8ftx4ft – 6mm plywood to go over the top, these were also to be painted black.

Before I could install the plywood, I had discovered that the shed recesses were 40mm deep, but the polystyrene sheets are 50mm deep, so now the polystyrene is sticking out 10mm, so I could either cut down the polystyrene or pack out the frame by 10mm to bring it up level.

I decided to pack out the frame with pieces of plywood I cut up as well as free wood I managed to get from Travis Perkins.

Now I was ready to cut up the plywood and I panelled out the whole inside of the shed, including the inside of the door.

I also made some shutters for the window using some left over plywood and I then used more plywood to encase the surround of the base, where the pier will be going.

For my 8x6ft Pent Shed I could have done with 8 plywood sheets, but I did manage to complete the job with 7 sheets, but had to have one side of the shed wall made up of several cut pieces instead of using just one board.

Next comes painting the inside of the shed.

Insulating the Observatory Shed

Insulating the ObservatoryOnce the pent shed was erected, I then considered the insulation and the types of products I could use.

I went for 50mm polystyrene sheets which measured 8ft x 4ft, again I ordered these from Buildbase as they were a lot cheaper than Travis Perkins, at around £7.50 each inc VAT.

I also ordered some sheets of 6mm Plywood at the same time, as I wanted to cut the polystyrene sheets into the recesses of the shed and then have the plywood over the top. The plywood was the most expensive item at around £14 for a 8ft x 4ft board.

I ended up ordering 7 sheets of both, with the polystyrene cut and fitted, I had one board left over, so I actually only needed 6 sheets for the 8x6ft pent shed.

Cutting the polystyrene sheets was quite messy, and the garden now resembled in parts a snowy type of winter wonderland scene, with all the residue of the polystyrene balls everywhere. I actually cut the sheets with a saw, and it was really easy to do.

The only problem has been that the shed recesses are 40mm deep and the polystyrene sheets only come in 25mm and 5omm depth, so I now have the polystyrene sheets sticking out by 10mm.

To get round this I could have either thinned down the sheets, but a very messy job. I did think of cutting up polystyrene strips in 10mm depths, but again probably a difficult and messy job.  So I ended up cutting strips of plywood for one inner wall. I actually used 2 pieces back to back to layer up to the correct height.

On the other three inner walls I used some rough wood which came from Travis Perkins pallets, the wood actually spaces the main wood on the pallets. It was the correct width and depth, and they nicely let me take as much as this as I wanted.

So far I have insulated the whole of the shed including the door, but excluding the ceiling, I may insulate a part of this when I work out how I am going to have my roof open up, I may also insulate the main part of the ceiling with a thinner lighter silver reflective sheet, but we’ll see.