Archive for : September, 2007

Bresser Messier 130N Telescope Review

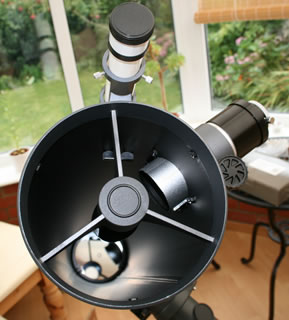
The Bresser Messier N130 or 130N is a 5” or as the name implies a 130mm aperture Newtonian Telescope with a focal length of 1000mm/100cm/1m.

Bresser Messier 130N TelescopeThe Bresser Messier 130N was my first telescope purchase, and I was glad to know that it came complete with a number of eyepieces – 25mm, 15mm, 10mm and a Barlow lens, a planisphere, a good manual, as well as the astronomy software Cartes Du Ciel which can also be downloaded for free on the internet.

I paid £190 for the telescope new. At the time I only wanted to pay a maximum of £250 for a telescope, so it was nice to have some money spare, although this money and more was subsequently spent on astronomy accessories.

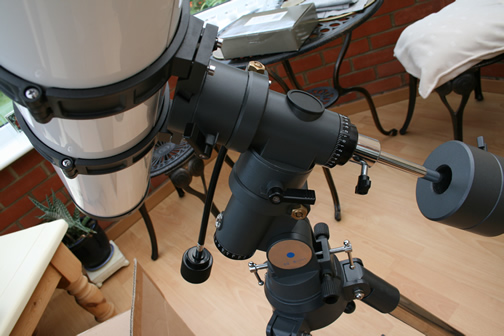
There were two largish boxes to unpack; one contained the tripod and equatorial mount whilst the other box contained the scope and the accessories. It did not take me too long to unpack and setup the telescope, although reading the manual was necessary.

As soon as I unpacked the telescope I was amazed that the equatorial telescope mount was so well made and very sturdy for the amount I paid. You may find the tripod quite heavy especially when you add the balancing weights to the tripod, so the 130N scope is not for young children due to the weight. The tripod height can be altered by loosening the tripod locks on the legs in order to get the telescope to a comfortable height for viewing. The tripod base underneath also has a plastic triangle to lock the legs in place, this also doubles up as an accessory tray, which can hold three 1.25 inch eyepieces and other bits and bobs.

N130 Mount and TelescopeWhen it’s your first telescope you never know what to expect when it comes to what you are going to see. I began by using the scope to see trees and plants outside of the window, and I was amazed to find out that I could see magnified images of ants on trees which were about 30m away.

Using the telescope indoors also gets you used to using the scope and how the equatorial mount works and how to get the scope in focus etc.

The 130N moves across the RA and Dec axis via manual control, although an optional RA motor drive can be fitted to the MON1 mount in order to track objects.

Bresser 130N Telescope
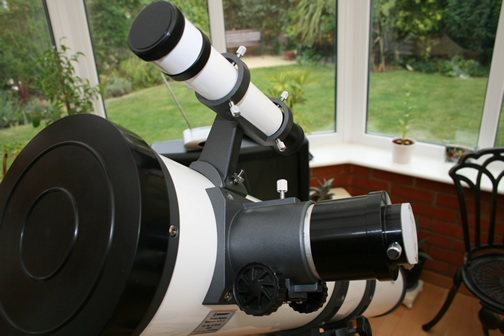
One good thing about the 130N is that you can remove or unscrew the barrel part of the eyepiece focuser on the telescope, which provides you with even more focusing range when doing imaging with the scope.

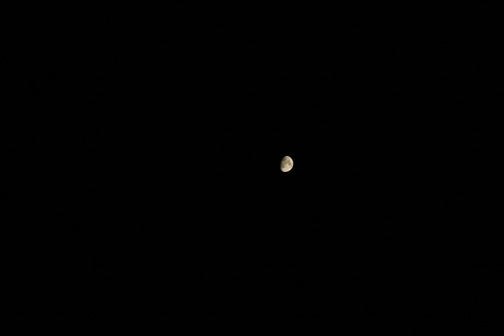
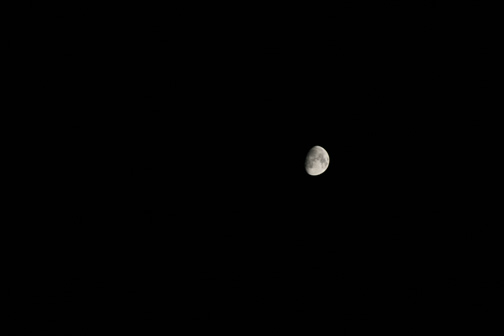
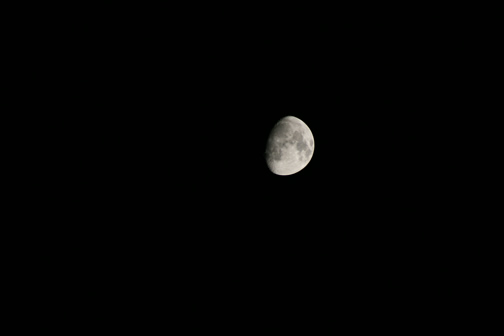
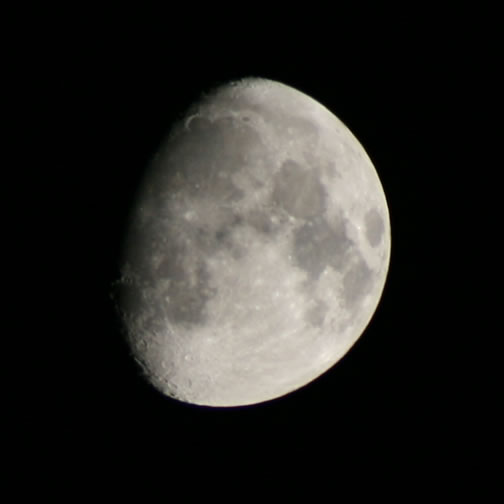
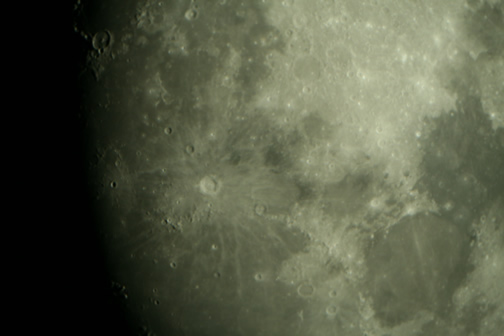
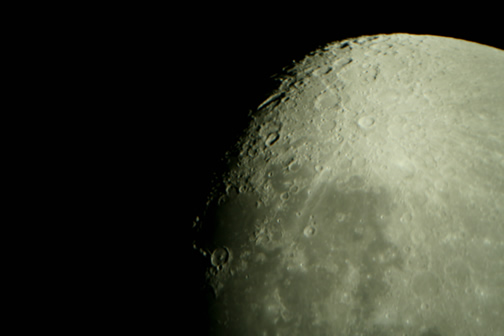
I have used the 130N many times for taking images of the moon (see my gallery to view the images) and this telescope excelled at viewing the moon as well as planets such as Venus, Jupiter and Saturn. I also managed to use a web cam to get some great images of Jupiter, unfortunately due to the time of year when I owned the telescope; Saturn and Venus were not available for imaging.

N130 Telescope Tube
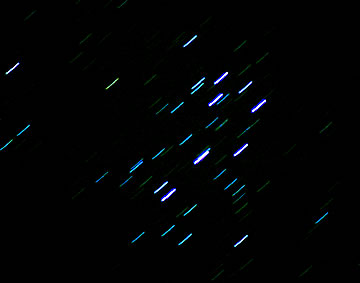
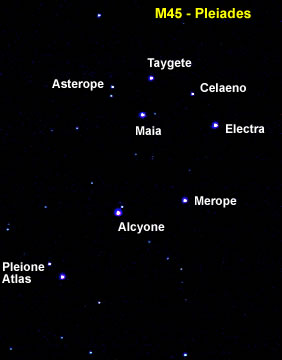
I was also able to view other objects such as the Ring Nebula, Hercules cluster, Andromeda Galaxy and Whirlpool galaxy. But don’t expect to get views such as those from the Hubble Space Telescope for £200, but you can see a whole lot of sky if you can find the objects. Astrophotography of certain fast moving deep sky objects will be very difficult with this scope but viewing them will not.

Moving and setting up the Messier 130N telescope was relatively easy with most of the weight being in the tripod mount, it was then just a matter of setting the tripod height and then placing the telescope tube onto the mount and tightening it onto the mount via a screw and you are ready.

After a while I got used to polar aligning the scope as directed in the user manual and then finding objects by using the RA and Dec settings.

Really I don’t know what else to say about the scope, other than for the price the telescope was very good value for money, and I can definitely recommend the Bresser Messier 130N as a starter scope.

Moon Images via Canon 75-300mm lens

Whilst out the with telescope I also got my first chance to try out my Canon 75-300mm USM lens attached to my Canon 400D on the moon.

To try and show what is capable with the lens, I have included shots of the moon at various settings, also I used a tripod and remote control for these images.

Camera Settings: Exposure time was 1/200 sec at f/5.6 and ISO200

The moon at 75mm Zoom:

Moon at 75mm

The moon at 150mm Zoom:

Moon at 150mm

The moon at 300mm Zoom:

Moon at 300mm Zoom

The same shot again at 300mm but at 100% magnification:

Moon at 300mm at 100% Magnification

I think this final shot is really quite good with just a 300mm camera lens, which cost me around £125, nearly as good as using a telescope for the shot.

First Moon Pictures from LX200

I managed to get the scope out last night and it was a brilliantly clear night. Below are some images from last night of the moon which I took by just adding the DSLR camera to the back end of the scope. These images were taken using a moon filter attached to the camera, so hence the slight darkness of the images.

The clarity of the moon from the LX200 through the eyepiece is quite astounding and very clear.

Moon via Canon 400D and LX200

Moon via Canon 400D and LX200

Bought Aluminium Tool Boxes from Maplin

I took a trip to my local Maplin store today in order to purchase some new aluminium boxes so that I can put my new LX200 parts in them for storage, such as the power supply and hand controller.

At the moment Maplin have an offer on two different tool boxes, one is at £14.99 for one good quality box which comes with full foam padding that you can cut out and use.

Toolbox Toolbox Open

View it here.

The other boxes that I purchased are three aluminium boxes, all different sizes, they don’t have any foam inside, but they are only £19.99 at the moment for all three boxes.

Toolboxes My Toolboxes Open

View them here

Now I just need to go and source some foam inserts, I am going to venture to a Dunelm store probably tomorrow to see what they have got, foam wise.

Second Night with LX200

Well tonight I managed to get a thiry minute gap in the clouds in order to get the scope out into the garden. I am still having problems getting the screw into the scope through the base, but as I had such a small window of time I did not power up the scope but instead used it to view the moon manually.

The view through the scope with the meade 26mm and my 20mm eyepieces was really good, even though clouds kept coming across my view of the moon.

I just need more time now to read the manual properly.

First night with the LX200

Well after a rushed assembly tonight in my conservatory at around 8.30pm, I managed to get my LX200 turned on whilst I got familiar with the hand controls.

After about 30mins I just had to get outside, as the sky was fairly cloudless, so out I went. The first thing that I had problems with was to screw in the bolt under the tripod, even though I have a deluxe locator plate, so heck knows what it would be like without one!

I finally got the tripod screwed into the telescope after what seemed like 15 minutes, I think the problem was that the legs of the tripod were not spread out evenly, even though they were all spread out, as the spacer kept knocking on one of the legs stopping me from connecting the bolt thread with the telescope.

If any body has any tips on how to easily and quickly connect the bolt thread to the LX200 then please tell me, like using the ‘C’ clip or using nuts etc.

I then set the scope off into its automatic alignment, although it kept asking me to identify stars (I thought it was fully automatic with GPS?), and when it did there were no “brightest stars” around, so I think I just unlocked the RA and Dec and manually moved it – which I now know is wrong and you should just use the keys on the handset instead (hey don’t blame me – I didn’t read the manual!).

So obviously when I asked for Andromeda then GOTO – it found me blank sky, and went completely the wrong direction when I asked for the Ring Nebula via GOTO. So for the rest of the evening I gave up on the GOTO until I have read and mastered the manual, instead I manually used the Dec and RA to find Andromeda etc myself.

The LX200 is a cool machine – I just wish I knew how to use it. I think practice will make perfect.

Any tips on setting up the LX200 would be welcomed.

Goodbye Bresser Messier 130N Telescope

I have now upgraded from my first telescope my Bresser Messier 130N to an LX200 10″ GPS with UHTC. After starting my astronomy hobby four months ago with my first scope, it is now time to upgrade.

I am glad that I purchased the 130N first, before spending a lot of money on a hobby that I may have found was not for me, as my initial budget was £250, and I nearly went for an ETX80.

The 130N is/was a very good beginners scope especially from the point of view of value for money. The 130N Mount was really good, solid and well made.

I have decided to upgrade in order to concentrate of astrophotography and to see more of the universe. Using the 130N was great but difficult to acquire really good deep sky photos. Although the 130N has provided me with some very good moon images (in my mind, anyway).

I shall in due course take some photos of my scope for history sake and add a proper review of the 130N to the site shortly, a kind of lasting shrine.

Now comes a massive learning curve on getting used to the new scope and what it can do. Watch this space.

Astronomy Hacks Book Review

Astronomy HacksO’Reilly is not known for being specialists in publishing astronomy books, so it is nice to see an astronomy book from them. O’Reilly are already well known for their hacks series of books on a number of subjects and this book contains 65 astronomy hacks covering everything you need to know in order to make the most out of your nights observing.
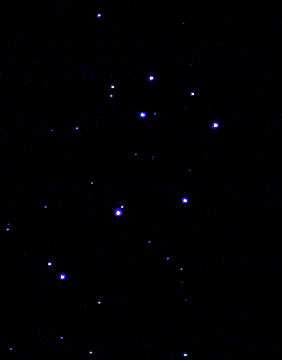
The 65 astronomy hacks are divided into four chapters. These are Getting Started, Observing Hacks, Scope Hacks and Accessory Hacks.

There are lots of tips and advice in this book, such as what to pack for nights observing, how to protect your night vision, how to learn urban observing, how to upgrade your Dobsian mount.

There are also other tips on how to align your viewfinder, how to maintain logbooks, how to clean your eyepieces and how to tune your Newtonian reflector for maximum performance.

Astronomy Hacks contains a number of images and diagrams and is a great read, also a useful reference. It’s nice to be able to read just one hack at once, which is shorter than a normal book chapter.

Astronomy Hacks is available at Waterstones

M45 Pleiades Star Cluster

So my first night out with my new Canon 75-300mm USM lens. The Pleiades seemed to be the best test for this new lens on my tripod. So here are some images:

This first image was 5.6f, ISO800, 300mm focal length and a 2 second exposure.

Pleiades on Canon SLR 300mm lens

The second pleiades star trail image was 5.6f, ISO800, 300mm focal length and a 30 second exposure.

Pleiades Star Trail 300mm - 30 second exposure

The individual members of this cluster range from Alcyone at magnitude 2.9 down to very faint stars, probably 500 or more in all. Much of the cluster is enveloped in a blue reflection nebula, known as the Merope Nebula.

A popular name for the cluster is the Seven Sisters, Nine of the stars have names.

The Pleiades were the seven mythological daughters of Atlas and Pleione, and their parents are represented by the two easternmost bright stars.

Pleiades Star Names

New Canon 75mm-300mm USM Lens

Since purchasing my Canon 400D with its 18mm-55mm lens I have thoroughly enjoyed using it, especially for taking night shots of the sky using the bulb setting. But as the whole point of owning an SLR camera is to be able to change the lens, I thought it was about time to purchase a new one.

I decided that I did not want to spend hundreds of pounds on a new lens, so I decided upon a 75mm-300mm Canon lens, which does not have IS (Image Stabilisation). After looking around the internet I found that the cheapest price from a retailer like Amazon was around £175, so I decided to look on eBay, where I found a company selling them for around £120 including delivery.

Well today I received it, I think it was cheaper because it was a US version and I have tried it out in the daytime, and it makes me feel like a private detective or part of the papparazi when using it.

But I do like it, I now want to know what kind of astronomy images it will produce with the extra zoom.

The 75mm-300mm USM Lens is available at Argos, Jessops, Amazon and eBay.