Observatory Build – Laying the Slabs
It was now the weekend again, and the concrete has been left about a week to set. It was now time to lay the slabs for the base of the shed. All week during the evenings I have also been staining the shed. In the end I managed two coats on all sides of the shed, but boy I wish I had ordered the shed pre-treated, it may have cost a little more, but it would have saved me a lot of time.
I began the weekend by making a couple of small purchases late on the Friday night, firstly I purchased some Bitumen weatherproof gunk, to paint onto the concrete pier base, as I was worried about water sitting around the base of the pier. I also purchased a small tube of Ronseal Wood Filler to fill any holes in the shed where the knots had fallen out.
 I had ordered 8 bags of sand (4 Sharp and 4 Soft) as well as 2 bags of cement for the 11 slabs I was laying. I was worried I would not have enough sand, and all the builders merchants close at noon on Saturday near me, so may last chance to get more was around 11.45am (even though in the end I had 2 bags spare, so only used 6 bags). So because of this Friday night I laid 3 slabs just to work out how much sand and cement that had used, but it seemed I had ordered about enough.
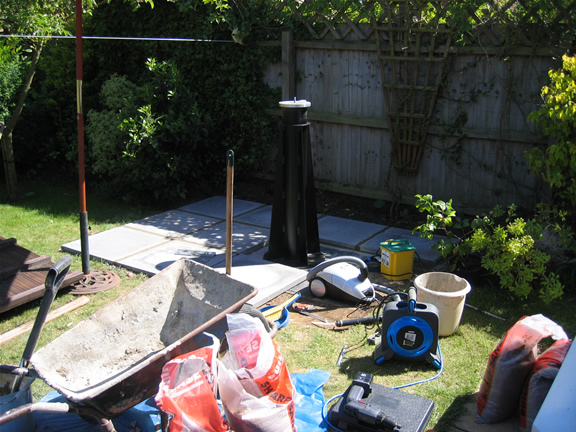
I finished off laying the slabs on Saturday (the next day). I actually purchased the cheapest slabs I could find which are Council slabs in grey, these come in two depths, but I went for the thinner ones as these are already heavy enough anyway, and the 600mm slabs are quite awkward to work with compared with the smaller 450mm slabs. I paid about £3.50 for the 600mm Council slabs from Buildbase. I ended up hand mixing the cement I needed to fix the slabs down in a wheelbarrow as then I could mix about the right amount everytime for one or two slabs.
fantastic work ispirational…and im quite jealous 🙂