Introduction to Astronomy – Week 6
This was the final Wednesday night on the Introduction to Astronomy course and a bit of a shame it was all over.
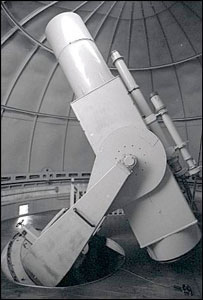
This week we had a talk by Roderick Willstrop entitled “History of the Telescope”. Roderick took us through 400 years of the main developments of Telescopes and the major telescopes that have been built, including Space Telescopes.
Roderick went through a long list and dates of the major advances over time, these included:
| Name | Date | Comments |
|---|---|---|
| Ham Lipperschey | 1608 | |
| Galilei Galileo | 1609 | |
| Johannes Hevelius | 1647 | Convex and Concave lens at eyepiece end |
| Isaac Newton | 1668 | Reflector |
| James Hadley | 1721 | 1st successful 6″ reflector with 5ft tube |
| Chester Moor Hall | 1733 | |
| John Dolland | 1759 | |
| William Herschel | 1776 | 7ft reflector, Uranus discovered on 13th March 1781, 40ft Reflector in Slough, 20ft Reflector in Bath |
| Pierre Louis Guimand | 1799 | Flint Glass, 9.6″ Refractor 1824 Dorpat Observatory Russia |
| Joseph von Fraunhofer | 1824 | 9.6″ Dorpat refractor designed by Fraunhofer in Berlin, discovered Neptune 1846 |
| Edward Cooper | 1834 | Built 13.3″ refractor built at Markree Castle, Ireland |
| Duke of Northumberland | 1838 | |
| Rev. John Craig | 1852 | 25″ reflector |
| William Parsons | 1845 | 6″ reflector at Birr Castle |
| William Lassell | 1861 | 48″ reflector in Malta |
| Andrew Common | 1879 | 36″ reflector |
| James Lick | 1888 | 36″ telescope with 58ft focal length on Mount Hamilton |
| George Ellery Hale | 1897 | 40″ telescope with 63ft focal length |
| Paris Exposition | 1900 | 49″ refractor |
| Hale Telescope | 1948 | 200″ telescope |
| BTA Russian | 1975 | 6m and 40″ thick mirror |
| Multiple Mirror Telescope | 1987 | 6 x 1.8m mirrors (72″) which was re-built in 2000 with a single 6.5m mirror |
| Keck I | 1993 | 2 x 10m mirrors in 36 segments |
| Keck II | 1996 | |
| South African Large Telescope | 2005 | 11m telescope |
| Large Binocular Telescope | 2005 | 8.4m mirrors |
Hopefully I wrote all these notes and dates correctly, although there may be some errors, if anyone wants to correct me, feel free to do so.
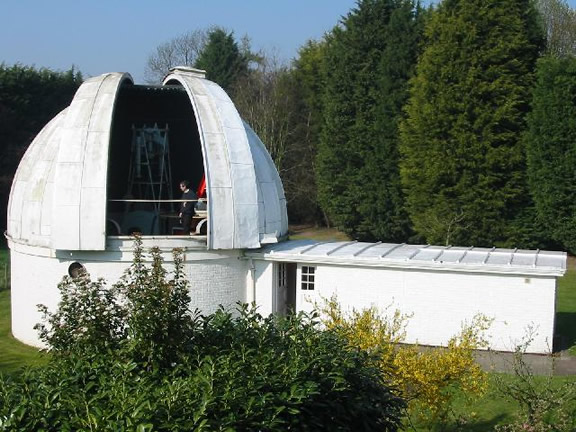
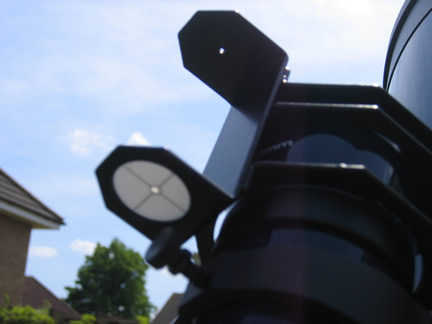
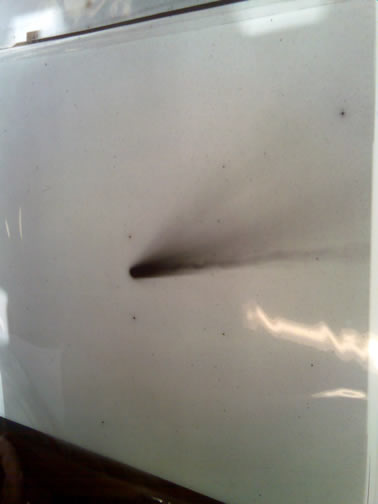
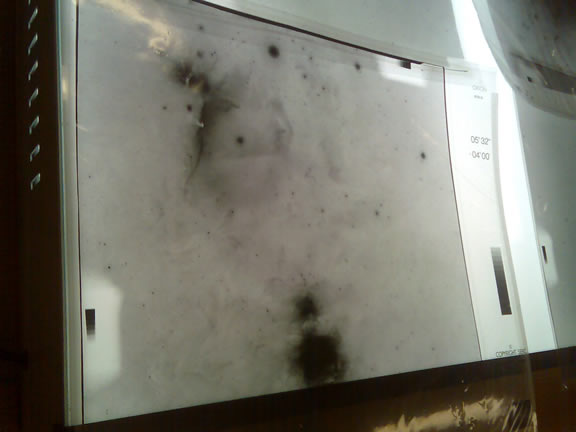
After the talk, we went out and visited the 3 mirror telescope (3MT) which Roderick actually designed.
The Three Mirror Telescope (3MT)
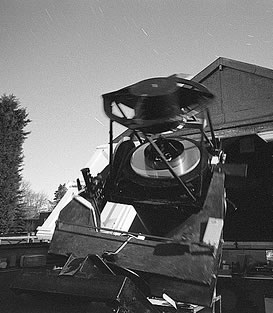 The Three Mirror Telescope (3MT) has been developed at the Institute of Astronomy by Dr. Roderick Willstrop. Its optical design is unique because it is the only form of telescope which combines the three advantages of a wide field of view, very small sharp images, and all-reflection optics.
Reflecting telescopes have been built with apertures up to 10 metres, but they have fields of view limited to 40 arc minutes (Ritchey- Chretien two-mirror design) or 1 or 2 degrees with a 3- or 4-lens Wynne corrector near to the focus of the main mirror. Schmidt cameras can give fields of view of 7 or 8 degrees, but their apertures are limited to about 1.3 metres because they use a thin glass lens large enough to cover the whole aperture.
The 3MT has a field of view 5 degrees in diameter, and the ray- theoretical image size is less than 0.33 arc seconds everywhere, and less than 0.1 arc seconds over the central 1 degree of the field. Because no lenses are needed the images are perfectly achromatic, and furthermore it is possible, in principle, to build this telescope with a larger aperture than any Schmidt camera.
The design is based on a simpler one discovered in 1935 by the French optician Maurice Paul and rediscovered independently in 1945 by the American James Baker. The original Paul-Baker design had a paraboloidal primary mirror, a convex spherical secondary mirror and a concave spherical third mirror. If the aperture of the primary mirror was f/4, it would have given acceptable images, and a field of view of about a degree.
The good performance can be explained as follows: if the second mirror were a convex paraboloid (instead of spherical) the light from a distant star would be made parallel again after the second reflection. (This arrangement of two coaxial and confocal paraboloidal mirrors was described by Mersenne in 1636.) The third mirror would then also have to be paraboloidal to focus the light, and the field of view of the whole system would be no larger than that of a single paraboloidal mirror. The essential feature of the Paul-Baker design is that the second mirror is spherical, so the light is not exactly parallel after the first two reflections, but is deviated in just the same way as by the corrector lens of a Schmidt camera. Then the third mirror must also be spherical to focus the light, and a large field of view with sharp images is obtained. This telescope has also been called the Mersenne-Schmidt.
Baker suggested that the Hale 200-inch (5.08 metre) telescope might be given a wider field by using two auxiliary mirrors. It would not have been acceptable to enlarge the central hole in the irreplaceable 200-inch primary mirror. The third mirror, 2.1 metres (84 inches) in diameter and weighing one or two tons, would therefore have been mounted directly above it, so the system was never built. The field of view could have been just over 1 degree. In the f/3.3 Hale telescope, it would have been necessary to modify the shape of the secondary mirror to retain small, sharp images.


 This is the second edition of Michael Covington’s Astrophotography for the amateur book. It is nice to find a book solely on astrophotography, as that’s what interests me most, I always like to come in from the cold with some images or video to work on.