How To Make a Digital Camera Solar Filter
After buying my A4 sheet of Baader solar filter paper I have been making all sorts of filters.
The last of which has been a solar filter for my Canon 450D digital SLR camera, but my method of construction will work for any SLR camera, as its really simple.
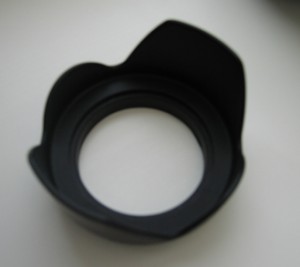
I started with a flower shaped lens hood. I bought the lens hood a while back cheaply from someone in China on eBay, I think it only cost a few pounds.
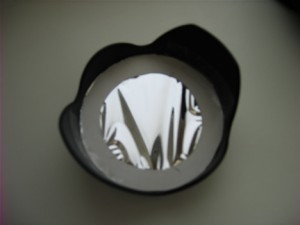
I then cut out two circular pieces of cardboard to put either side of the circular solar filter paper. I cut them to fit just inside the lens hood. I then cut out the circular solar paper.
Cutting the solar paper can be a pain, it is best to cut the filter paper between two other sheets of paper and then remember that there is a really thin piece of transparent film on the solar paper which needs to be removed once the shape has been cut out.
I previously used scissors to cut out the solar paper, but for this attempt I used a very sharp scalpel.
I then placed squares of double sided sellotape around the cardboard circles, in order to hold the cardboard onto the solar paper, be careful not to get fingerprints on the solar paper.
Then place the filter into the lens hood and I just used standard sellotape to tape the cardboard part of the filter to the plastic sides of the lens hood.
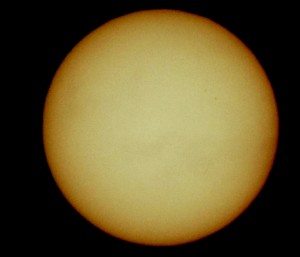
I then screwed on my new solar filter and took an image, usually I would take video of the sun with a CCD camera and then stack the results to get a final image. This time I took the sun image below with my DSLR at a setting of 1/4000th second at ISO100 with my 300mm lens.
I then played about a little with the brightness and contrast and colour levels with a photo editor program.
You can just make out two sunspots (1080) on the top right handside.


