Observatory Build – Drilling The Pier Holes
Saturday morning I carried on mixing cement and laying the slabs. At about 11am I had a break and went off to my local tool hire shop where I hired the SDS Drill and 110V to 240V converter to make the holes in the concrete for the pier bolts, which cost about £19 for the weekend.
I also called into ScopesNSkies where James lent me an 18mm drill bit for the pier holes. I had previously been into ScopesNSkies during the week to purchase the Pier Fitting Kit, which consists of 4 bolts, washers and nuts, you get the tube of resin included, but you will have to remember to get a metal gun for the tube of resin.
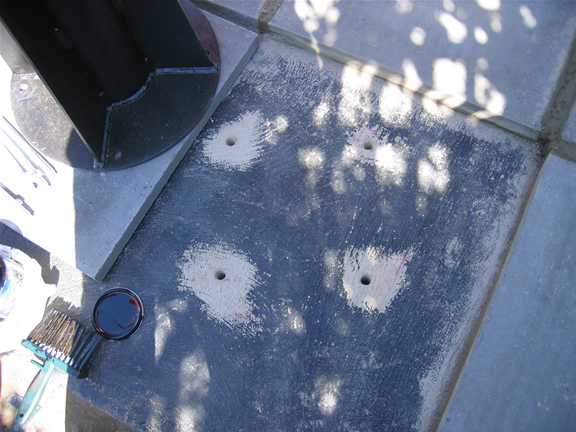 Once I got back home, I drilled the 4 holes in the concrete. I was very worried about not making the holes in the correct place or drilling them at an angle. So I drilled one at a time then moved the pier into place and re-checked the other holes and re-marked them again. A lot of concrete powder came out of the ground when drilling the holes, and I was advised to use my hoover to suck out the dirt left in the drill holes, as they need to be as clean as possible when putting in the bolts and resin. So I began looking for a piece of hosepipe to tape to the hoover attachment, but the hose pipe was too large to fit the drill holes, so instead I used a plastic tube which comes with those expanding foam cans.
I now needed to set the bolts in the holes with the resin in the kit, but I did not do this straightaway, I actually left it until the whole shed was put up.